A Guide to Using the Advanced Email Editor
Welcome to the Advanced Email Editor! This feature, available exclusively to clients on premium and above plans, offers powerful tools to design professional emails with ease. Follow these directions to get started and make the most of this tool.
* Don’t Forget To Click ‘Save As Draft’ Before Leaving The Editor
So You Don’t Lose Your Email.
Accessing the Advanced Email Editor
- Log in to your dashboard.
- Navigate to the Email Center.
- Click Send Email
- Once this opens, toggle the option to switch from the regular email editor to the Advanced Email Editor.
Understanding the Editor Layout
The Stage: The large area on the left-hand side where you design your email. This is your workspace.
The Side Column: Located on the right-hand side, this is where content blocks are housed. Drag and drop these blocks onto the Stage to build your email.
Using Templates or Creating Templates
Templates are a great starting point for creating emails. You can either use one of our pre-designed templates or create and save your own. This feature is especially handy if you send recurring emails, like monthly event announcements.
Here's how to access and use templates:- At the top of the Advanced Editing page, you will see ‘Template Categories’.
- Click on “Please Select A Category” to open a dropdown menu.
- Choose from a variety of pre-created templates designed to fit common email needs.
- Each template can be customized to suit your specific requirements, including editing colors to match your clinic’s branding.
To create a template:
- Click on any of the topics
- Click on Blank Template to start from scratch
- Save it as a template for future use.
- This is particularly useful for recurring communications.
Using Content Blocks
The Advanced Email Editor includes several customizable content blocks that you can drag and drop to bring your email to life. You can type your text or copy and paste it in.
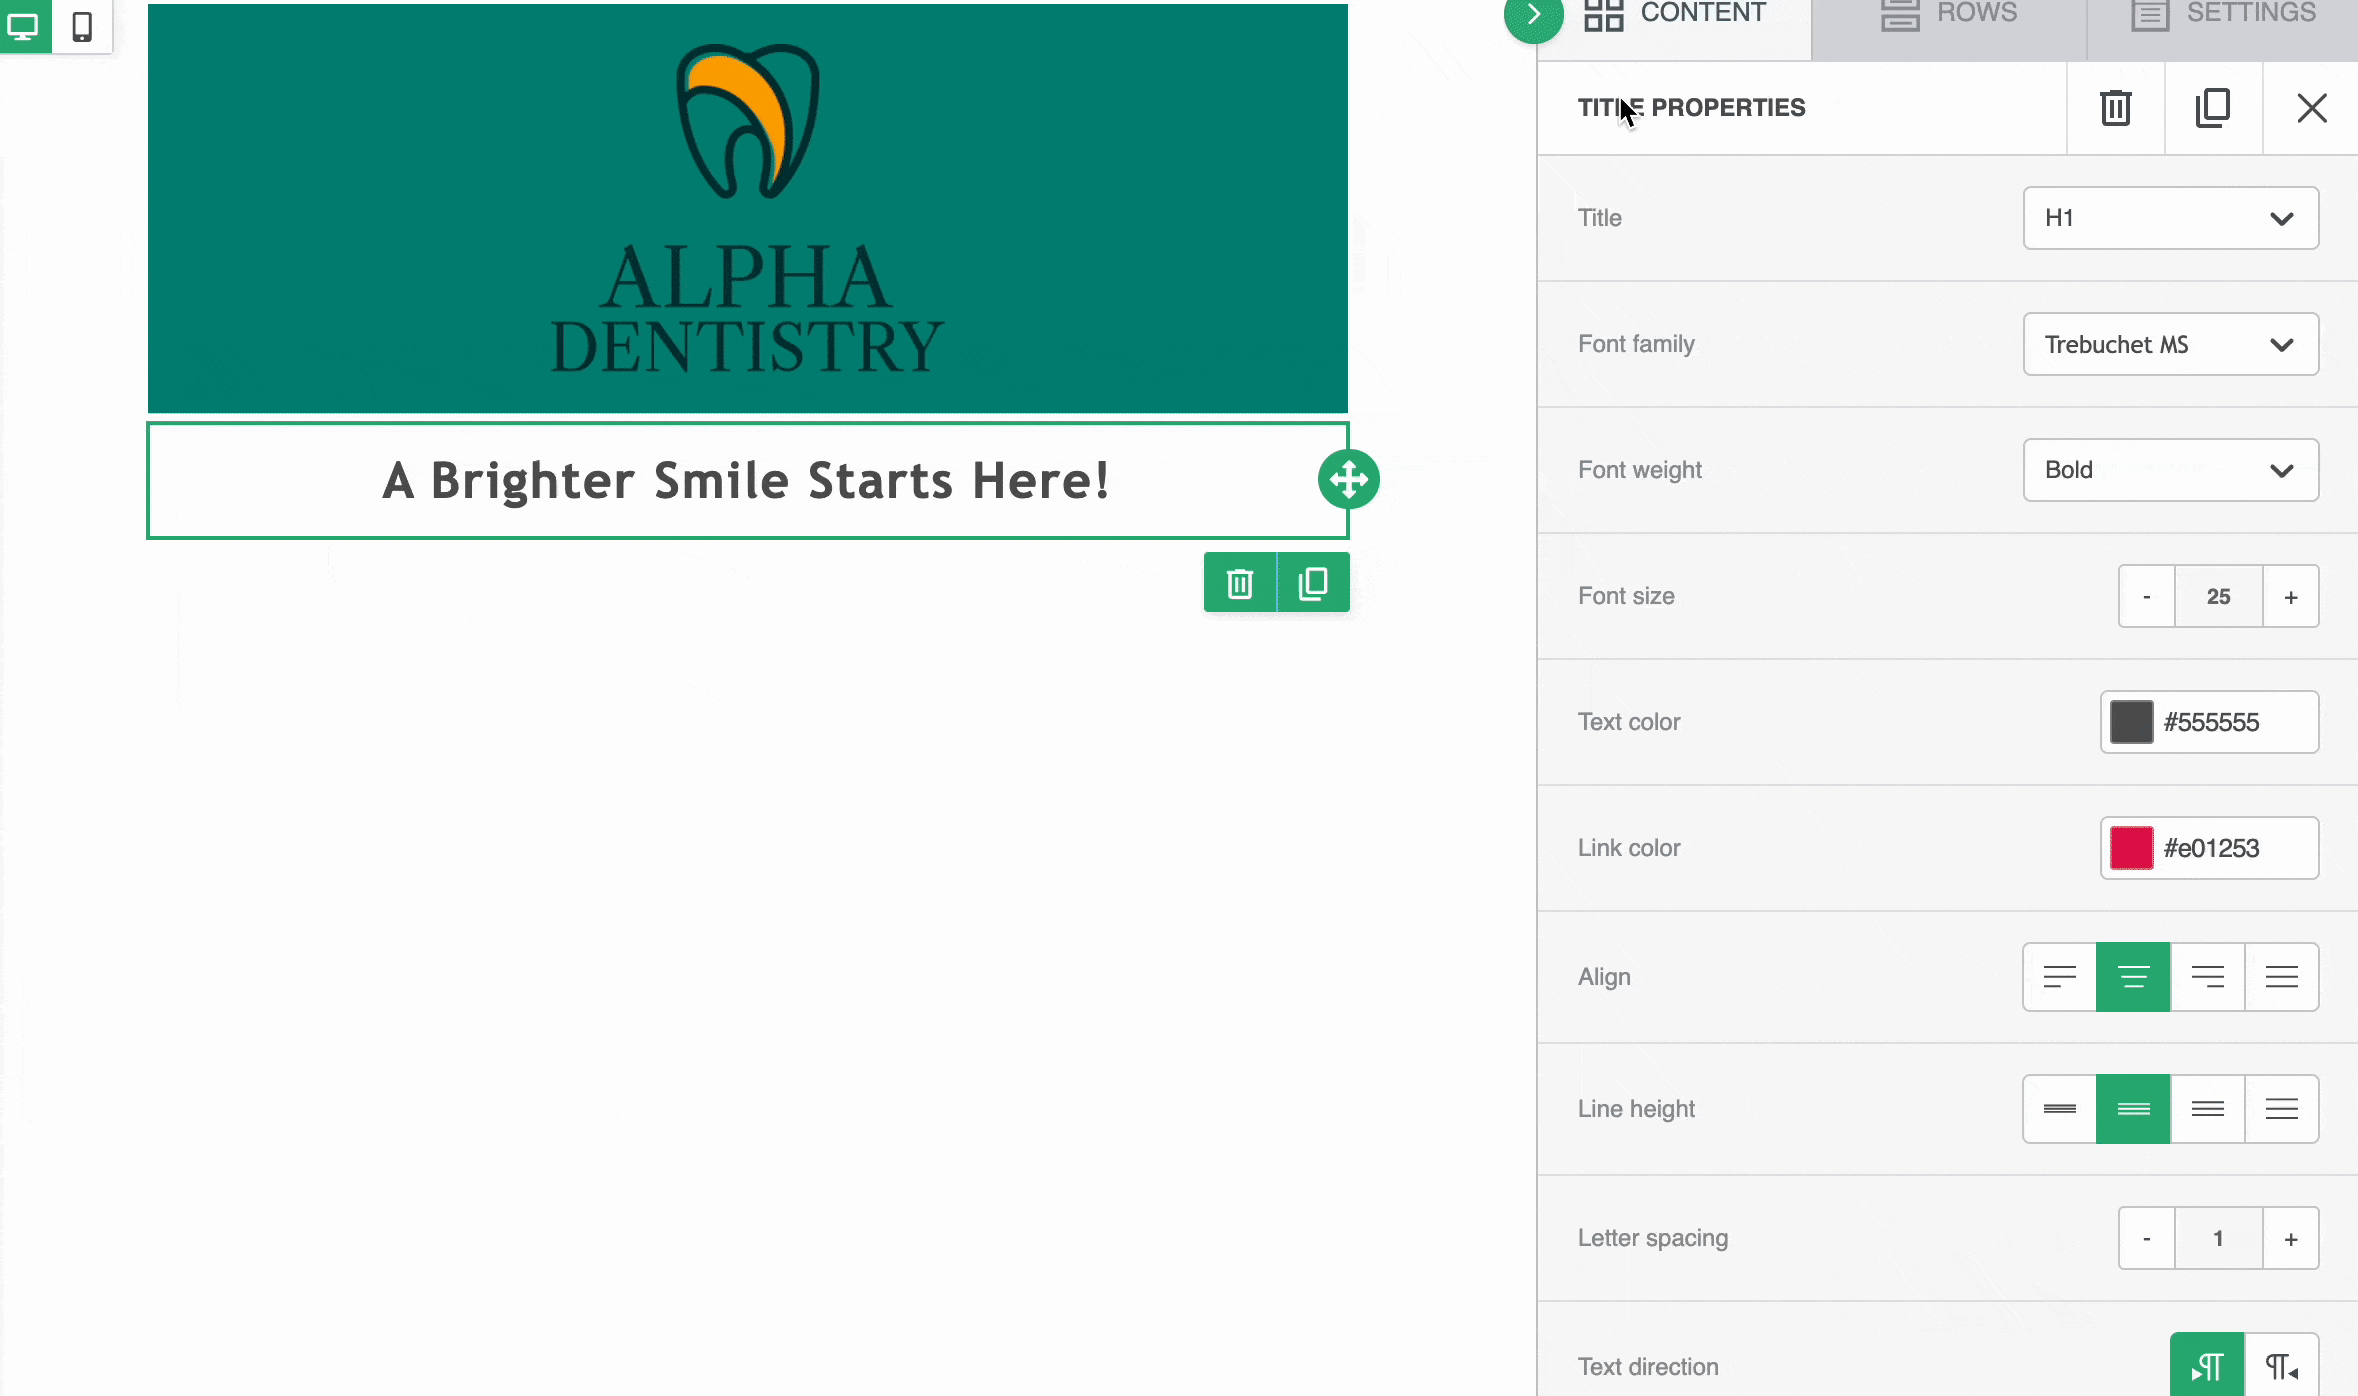
Title & Paragraph1. Title and Paragraph Blocks
Drag the block to the Stage to add text.
Customize Titles:
- Three size options- H1, H2 or H3
- Title text will be aligned centered but you can adjust the alignment
Title

Adjust Titles and Paragraphs using:
- Font types
- Font weights, sizes, and colors
- Alignment
- Padding
Paragraphs
Lists
2. Lists
Drag the List Block onto the Stage.
Easily organize your items into lists.
- Customize the lists
- Font family
- Weight
- Size
- Text color
- Alignment
- Spacing
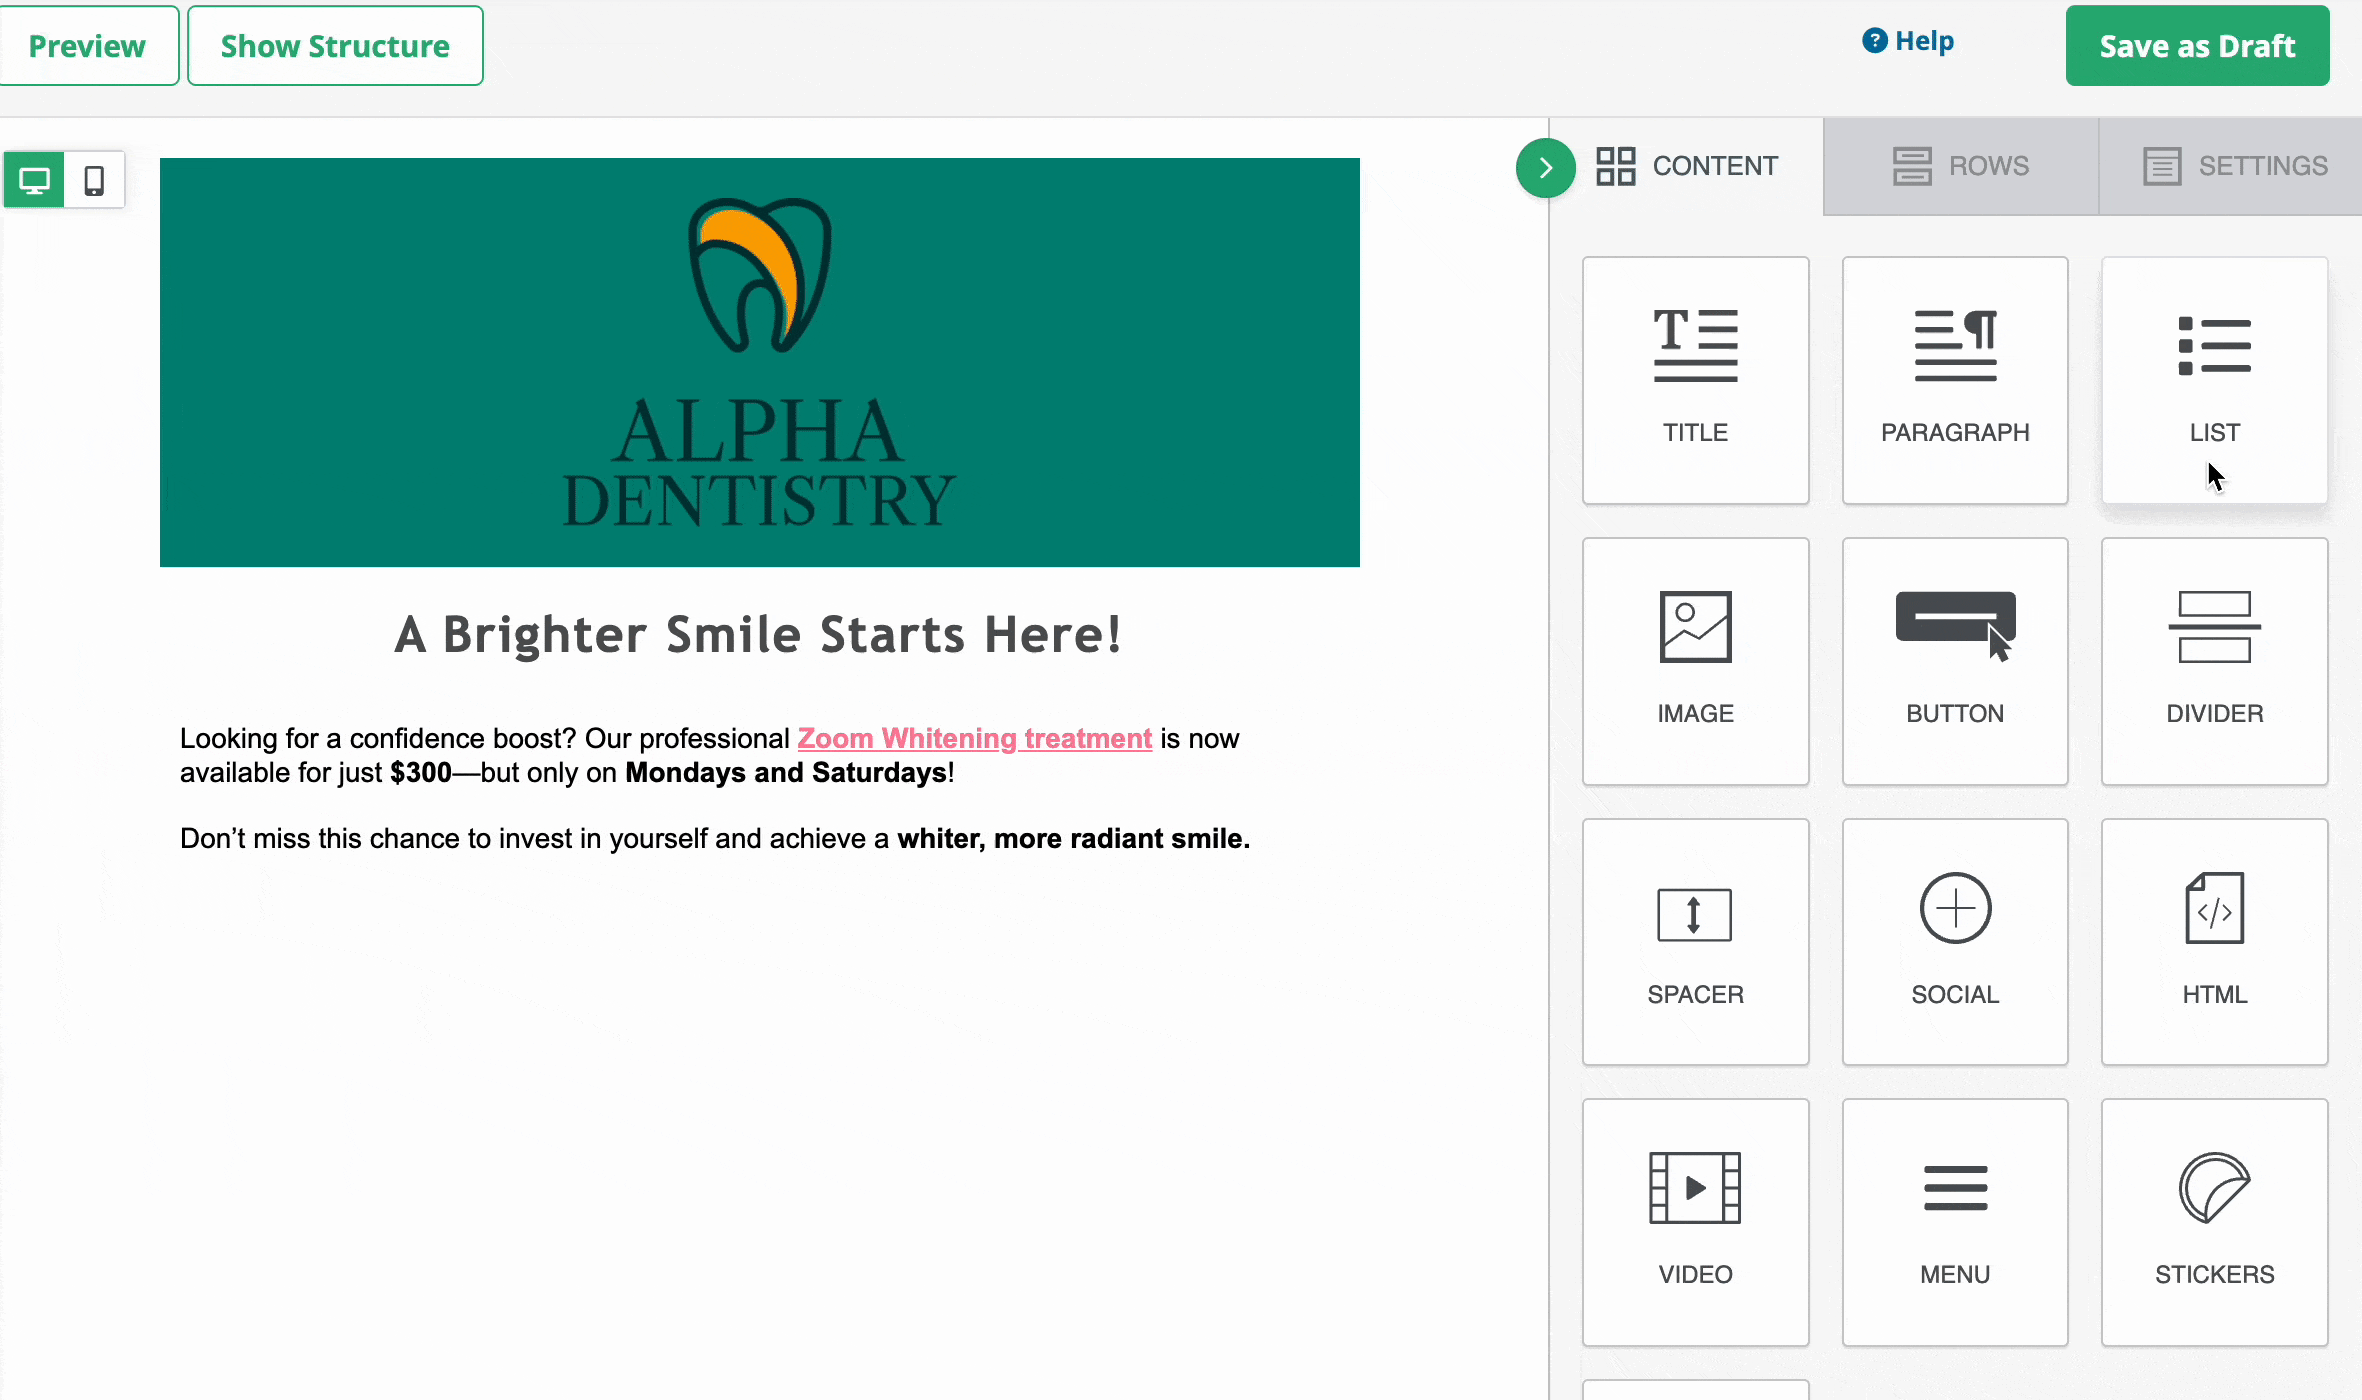
Image
3. Image Blocks
Drag the Image Block onto the Stage.
- Click the “Browse” button to access the media file manager.
- *Please note: this media file isn’t attached to your website’s media library. If you want to use any of those photos, download them to your computer, then upload to this media file.
- Options for adding images:
- Upload your own photos.
- Search for free, high-quality images through integrated Pexels or Pixabay libraries.
Button
4. Button Blocks
Drag the button block onto the Stage
- Add a button for any type of Call to Action (CTA).
- Customize the button’s:
- Color
- Text
- Size
- Font
- Link destination
Video
5. Video Blocks
Insert a Video Block to include engaging video content.
- Add the link to your YouTube or Vimeo video.
- The editor will automatically pull up a thumbnail of your video, complete with a play button.
GIF/Stickers
6. GIF or Sticker Blocks
Add dynamic and fun content using GIFs or Stickers.
- Use the integrated library to search by keyword.
- Browse and select the perfect GIF or sticker to enhance your email.
Spacers/Dividers
7. Spacers and Dividers
To break up your email or clearly showcase different sections, use:
- Divider Block:
- Make the divider solid, dotted, or dashed.
- Adjust the color and width.
- Add padding around the divider for extra space.
- Spacer Block:
- Adjust the height to create additional white space.
Rows
Next, within the side column, you will find Rows.
Rows help you organize your email and keep it neat and tidy. You can add any content blocks into a row and choose layouts with 1 to 6 columns. This is especially helpful when adding multiple elements into any section, like an image with accompanying text next to it.
- Drag a row onto the Stage.
- Add any content block into the columns of your row.
Using a Row to add Content Blocks
Templates
How to Create and Use a Template in the Advanced Email Editor
If you plan to send the same type of email more than once—whether it’s for a promotion, event, or workshop—creating a template can save you time and effort. By setting up a reusable template, you ensure consistency while making it quick and easy to send out future emails with just a few updates.
Creating a Template
- From the Dashboard, go to Email Center.
- Click on Templates.
- Click the ‘Add New Template’ button.
- Select a Category where you want to house your template.
- In this example, we are adding it under Promotional.
- Give your template a Title and Description.
- Now, create your email template using the Advanced Email Editor.
- Once you’re done, click ‘Save’.
- This will generate a template thumbnail.
Once saved, your template will appear under “Templates”.
- If you need to make additional edits, you can do so from this section.
Using a Saved Template
- Go to Email Center.
- Click ‘Create New Email’.
- Select ‘Use Advanced Editor’.
- Navigate to Template Category > Please Select a Category.
- Use the dropdown to choose the category where your template was saved (e.g., Promotional).
- Locate your template and click ‘Use’.
Now you’re ready to customize and send your email using your saved template!
Tips for Designing Effective Emails
Balance Text and Images: Use visuals to complement your message but ensure they don’t overpower the text.
Maintain Consistency: Stick to a cohesive color palette and style for a professional look.
Test Your Layout: Preview your email to ensure it looks great on both desktop and mobile devices. Always send yourself a test email so that you can see exactly what it will look like before saving to draft, sending or scheduling.
Troubleshooting Tips
Issue: Added something you don't want?
Solution: You can delete any block or row if you don’t want them.
Issue: Images Are too large
Solution: You can use a free resource like Adobe Free Image Resizer, or Lunapic where you can resize or crop your image so it fits your email better.
Issue: Email layout looks misaligned.
Solution: Add in a row. This is a great way to keep each section neat and tidy. There are several different row options available.